Make the most of Halloween at home this year. We’ve got expert ideas for a spooktakular good time with your family without even going outside. And if one night of Halloween isn’t enough for you and your little goblins, grab your costumes and join us for Howl-O-Ween at Great Wolf Lodge.
During the month of October, Great Wolf Lodge is keeping you safe while you play and becoming your Howl-O-Ween Headquarters—a fa-BOO-lous way to help your pack discover all that Great Wolf Lodge has to offer in a socially distanced way. Walk our Howl-O-Ween trail filled with tricks and treats. Or create BOO-tiful memories at home with our ideas below.
Check out the list below to explore some of our favorite fall crafts for kids. These Halloween activities are sure to keep the kids entertained all season long!
7 Frightfully Fun Ideas for Halloween At Home
1. Sensory Table
About an hour
Materials Needed:
- Black Plastic Cauldrons
- Tulle
- String/Twine
- Halloween Toys/Critters
- Plastic Eyeballs
- Tablecloth
- Test Tubes
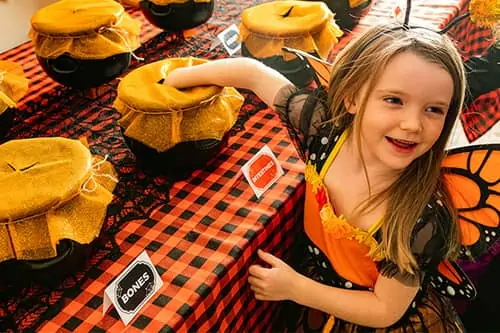
Having the kiddos touch and feel their way through a table of creepy, wiggly, slimy unknown objects is a perfect squeal worthy activity for the spooky season. Check out the steps below to get started with one of our favorite kids Halloween crafts!
Step 1: Begin by preparing your contents. There are tons of different options out there, but we suggest using the following list as a guide:
- Bones (raw hide dog bones)
- Brain (boiled green head of cauliflower)
- Heart (boiled heirloom tomato with skin removed)
- Intestines (cooked spaghetti or pappardelle pasta)
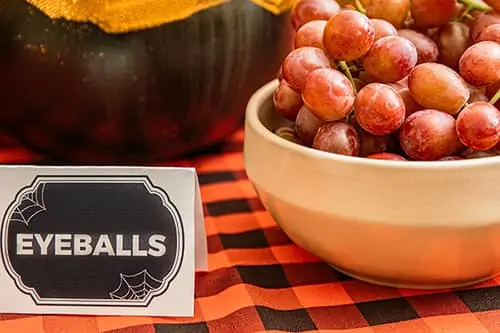
- Eyeballs (red grapes)
- Toes (cocktail sausages)
- Teeth (unpopped corn kernels)
- Fingernails (sliced almonds)
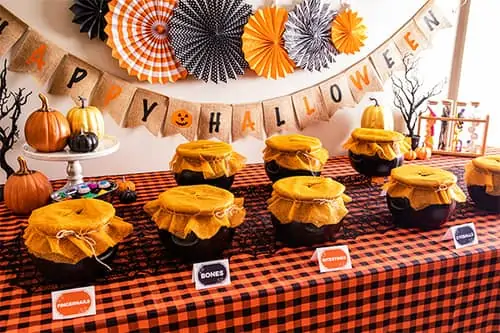
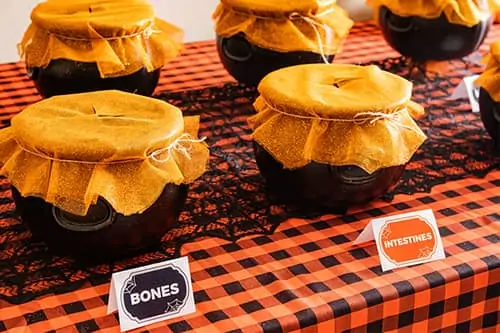
Step 2: Print out some “body identification cards.” These will be placed next to each cauldron to let the kids know what they contain. You can also draw pictures of the real body part for those who are not yet at reading level.
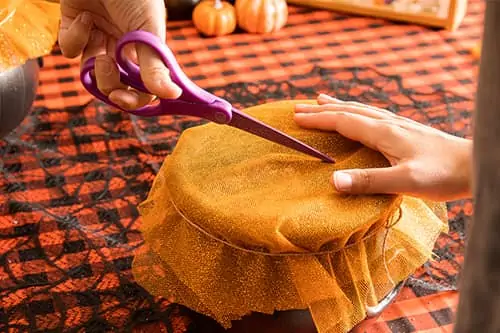
Step 3: Place each item in their respective cauldron. Cover with cheese cloth so that the kids won’t be able to peak inside the bowl. Secure with a piece of string or twine. Create a slit in the cloth so that the kids can put their hands inside the cauldron and explore.
Step 4: Place your prepared cauldrons on the table next to their designated body identification cards. Decorate with your plastic bugs, spider webs and any other Halloween party accessories you think the kids will enjoy.
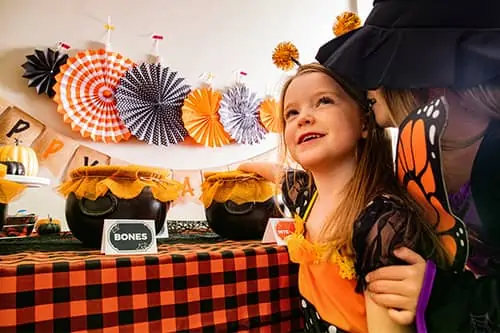
Step 5: Invite the kids the kids to check out your Halloween sensory table! Who’s brave enough to explore the entire creepy collection?
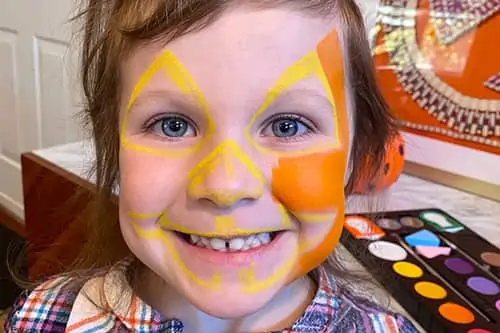
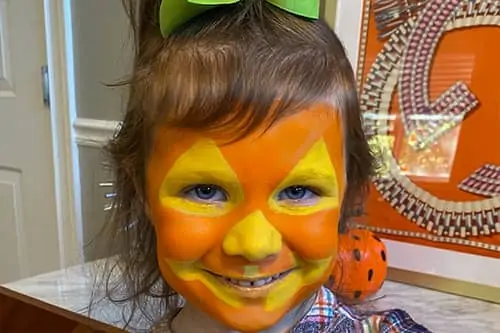
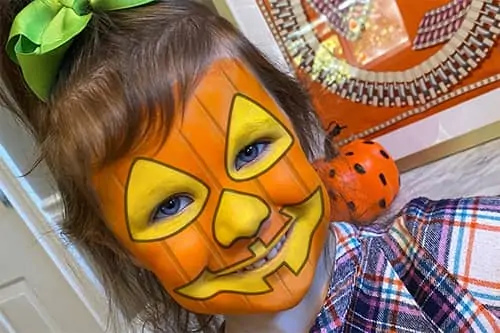
2. Frightful Face Painting
About 15 minutes
Materials Needed:
- Starter Brush Set
- Orange Face Paint
- High Density Sponge
- Black Face Paint
- Dark Green Face Paint
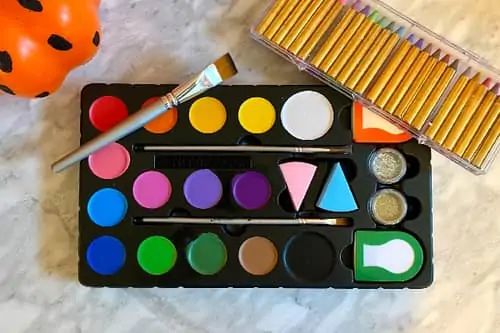
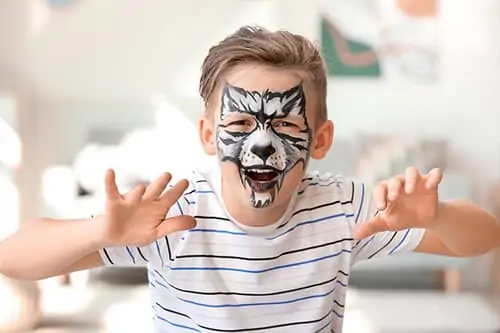
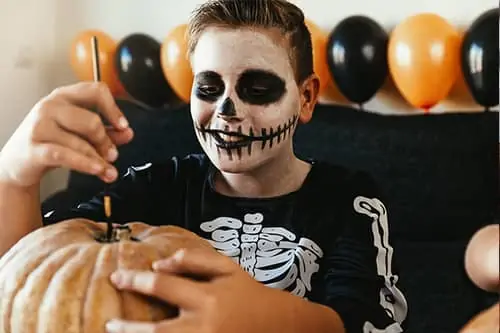
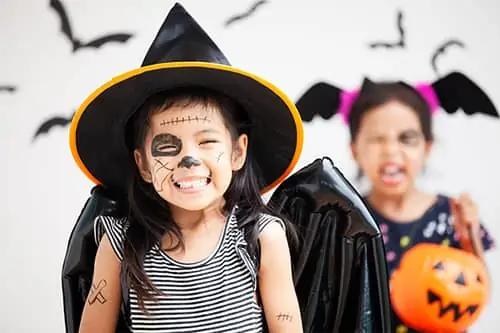
Face painting is scary cute and easy to do on the kids. Buy a face painting kit of your choice, then check out our carousel below or look online for inspiration. There are so many different ideas and tutorials!
Step 1: Start by outlining your lightest color first. Go around it with the darker color that will border it.
Step 2: Fill in the large open spaces with color.
Step 3: Add in your details with a dark-colored crayon. We used black and brown. Ta da!
Tip from our pack: We like having both the paint crayons and palettes. The crayons are easier to make outlines and then the paint is great to fill them in.
3. Bubbling Halloween Potions
About 10 minutes
Materials Needed:
- Baking Soda
- Vinegar
- Green Food Coloring
- Mini Plastic Cauldrons
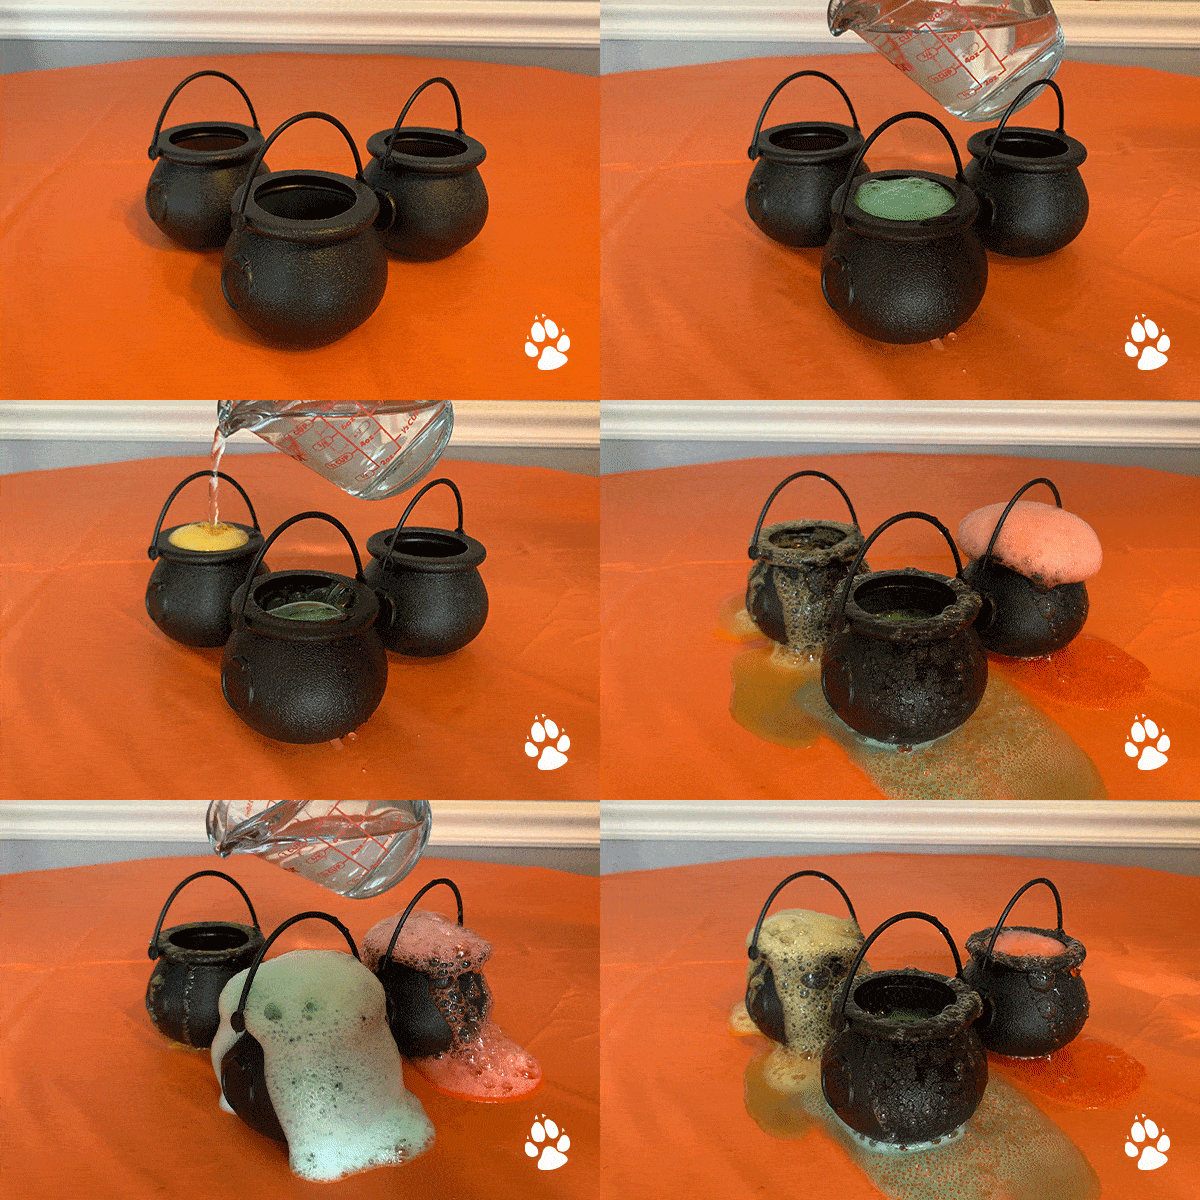
This STEM experiment dressed up as a spooky Halloween activity is really quick and simple to do. Follow the steps below to begin.
Step 1: Fill each cauldron ¾ full with baking soda.
Step 2: Add a few drops of green food coloring and mix it well with the baking soda.
Step 3: Pour vinegar into each cauldron and watch as the potion bubbles!
Tip from our pack: The bubbling reaction is almost immediate, so keep things clean by placing a baking sheet under the cauldrons.
4. Halloween Stress Balls
About 15 minutes
Materials Needed:
- Orange and White Balloons
- Rice
- Funnel
- Black Sharpie
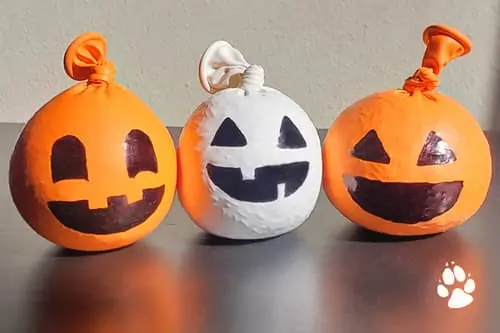
After the year we’ve had, we could all definitely put a stress ball to use. Make one with this super easy Halloween craft and squeeze your way with the kids to everyone feeling a little more relaxed.
Step 1: Stretch out the balloons a bit by pulling at the ends or blowing it up and letting the air escape.
Step 2: Grab your funnel and position it inside the tip of the balloon. Start slowing pouring your rice in.
Step 3: Once your balloon has reached your desired size, remove the funnel and tie off the end of your balloon.
Step 4: Take your sharpie and draw on some spooky faces to complete this DIY Halloween activity!
Tips from our pack: If you don’t have a funnel on hand, a rolled up piece of paper will work too.
5. Ghoulish Flying Ghosts
About 15 minutes
Materials Needed:
- Ice Cream Cups (16 oz or 32 oz)
- Streamers
- Twine
- Black Sharpie Pen
- Googly Eyes
- Scissors
- Glue
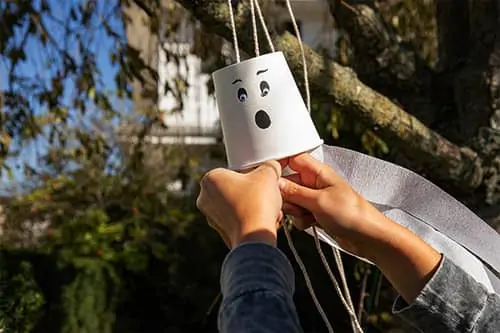
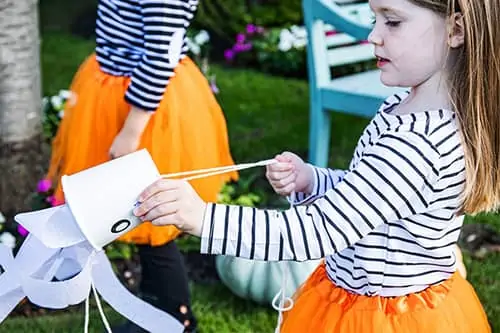
These clever interactive Halloween decorations are fun to make and even more fun play with. Read on for more information on how to put together one of our favorite Halloween activities for kids.
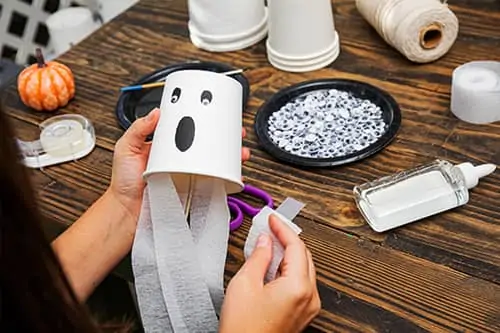
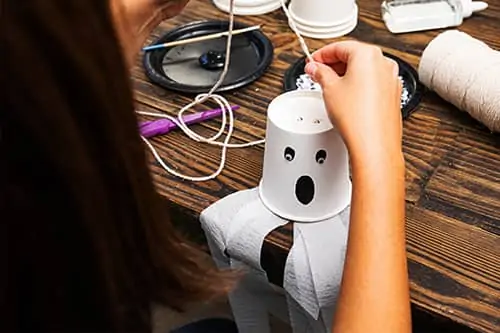
Step 1: Use a black sharpie to draw a ghost face on the outside of the cup. If you want, you can add some googly eyes for more detail.
Step 2: Glue streamers to the inside of your cup.
Step 3: Grown ups only! Make two holes in the base of the paper cup. You can do this by using a small pair of scissors.
Step 4: Cut about two arms length worth of white yarn. Thread both ends of the yarn through the paper cup. Pull the ends into the cup and out the other side. Tie the two ends together.
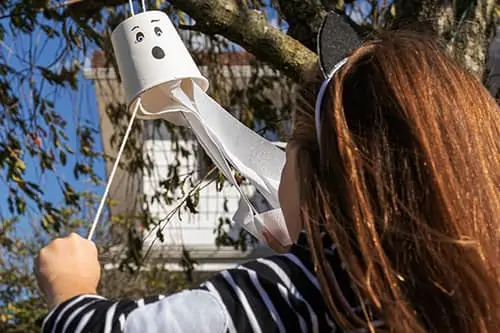
Step 5: Hook the looped end of yarn over a tree branch and gently pull the two threads out to each side. The farther you spread your arms out, the faster the ghost will “fly” towards the top of the yarn. Once your bring your hands back together, the ghost will “fly” back to its original position.
6. Witch Ring Toss
About 45 minutes
Materials Needed:
- Large Piece of Orange Foam Board
- Black Paper Plates
- 5-6 Black Party Hats
- Rings
- Buckles
- Glue Gun
- Ribbon
- Letters for Decorating
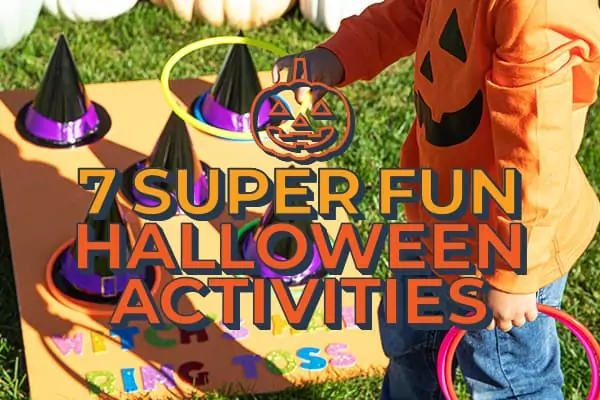
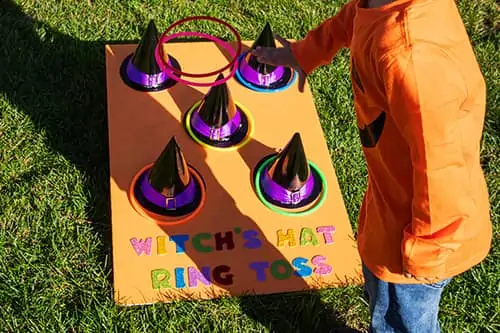
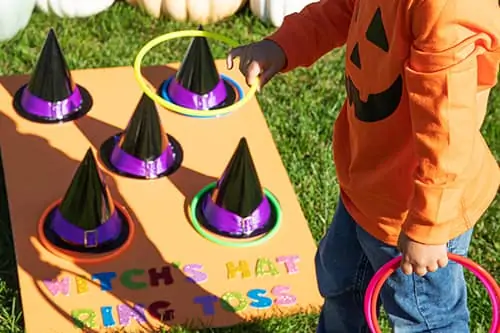
Kids will love this next Halloween activity! Sneakily help develop gross motor skills with this super fun Witch Hat Ring Toss game.
Step 1: Use the orange foam board as your base.
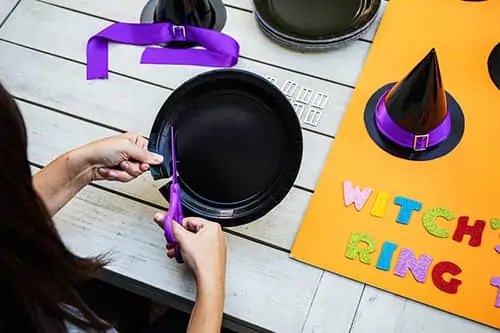
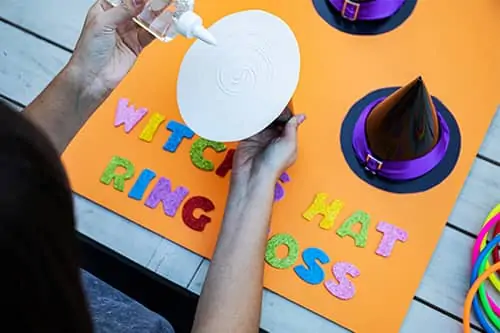
Step 2: Cut out circles from the black paper plates and glue them to the bottom of the party hat. Attach ribbon and buckles to make your witch hats.
Step 3: Glue the hats to your foam board.
Step 4: Toss the rings onto the hats and have a blast!
Tip from our pack: See if the kiddos develop any techniques while playing, illustrating the development of their gross motor skills in real time.
7. Candy Corn Cereal Treats
About an hour
Materials Needed:
- Your Favorite Non-Colored Cereal
- Mini Marshmallows
- Butter
- Yellow and Orange Food Coloring
- 2 Large Bowls (one must be microwave safe)
- 2 Rubber Spatulas
- 2 8″ Cake Pans
- Non-Stick Cooking Spray
- Paper Straws
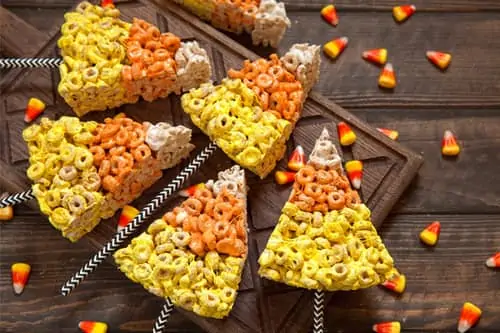
Celebrate National Dessert Month in October with these super tasty Halloween treats!
Step 1: Spray your cake pans with non-stick spray and put to the side. Take your two rubber spatulas and give them a light spray as well.
Step 2: Start preparing your “yellow ring” by adding 5 cups mini marshmallows and 3 tablespoons butter to a large, microwave safe bowl.
Step 3: Put your butter and marshmallows in the microwave for about 3 minutes, or until warm and very puffy.
Step 4: Measure 4 1/2 cups of your favorite non-colored cereal in another bowl.
Step 5: Remove your marshmallows from microwave and add a couple drops of yellow food coloring.
Step 6: Stir the melted marshmallows, butter and food coloring together until smooth. Pour the marshmallow mixture into the bowl with the cereal. Use an oiled spatula and stir quickly until fully incorporated.
Step 7: Divide your yellow mixture between the two cake pans, and use your hands to create a “ring” around the inside edge of the cake pan. Make sure it’s around 1 1/2 inches wide. You can rub some butter on your hands to prevent the mixture from sticking to your hands. Remember, the mixture gets more difficult to work with as it cools, so move fast!
Step 8: Wash your bowls and spatulas and repeat the same process with the ingredients for the orange ring, and then the white center.
Step 9: Once your three colors are pressed into the pans, allow to fully cool and set for at least 30 minutes. When you’re ready to create your triangles or candy corn shapes, flip your cake pans over onto a cutting board, and tap pan on cutting board to remove the contents. Cut it in half, then quarters, then cut each quarter in half.
Step 10: Create a hole with a wooden skewer if you want to add a cookie stick, paper straw or any other decoration. Now, enjoy your Halloween treats!
We hope you had a frightfully good time! Great Wolf Lodge is dedicated to creating family traditions, one family at a time. These days, we’re looking to take that mission out of the lodge and into your home. Check in each week for more fun craft ideas, party games, kids activities and more!


