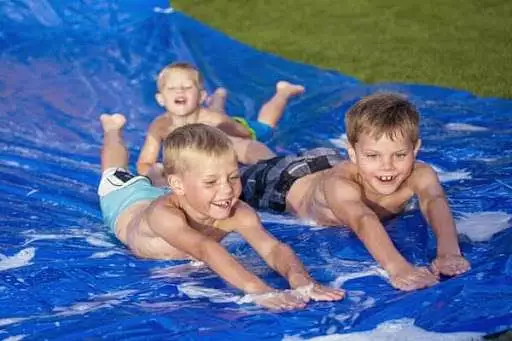
If you can’t make it to Great Wolf Lodge this summer, enjoy the next best thing with this DIY water slide activity. It’s a great way to keep the family entertained in the warm weather. By the time you finish, you’ll be left with hours of endless summer fun! Now, check out the instructions below.
View Table of Contents
Create The Ultimate Summer Slip N’ Slide
It doesn’t take much to construct the perfect summer slip and slide, and we would know. Great Wolf Lodge has water slide experts stationed all across the country.
It doesn’t have to be expensive, either. You can collect most of the items at a dollar store or your local equivalent. Go through each of the steps below to create the ultimate DIY water slide this summer.
Materials Needed:
- Garden Hose
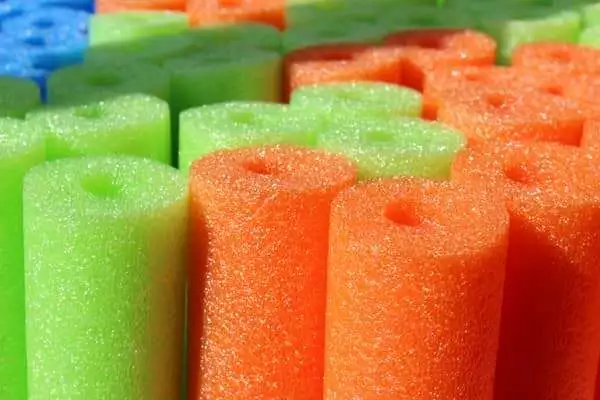
- Pool Noodles
- Dish Soap
- Garden Staples
- Duct Tape
- Plastic Sheeting
Step 1: Find the Right Spot
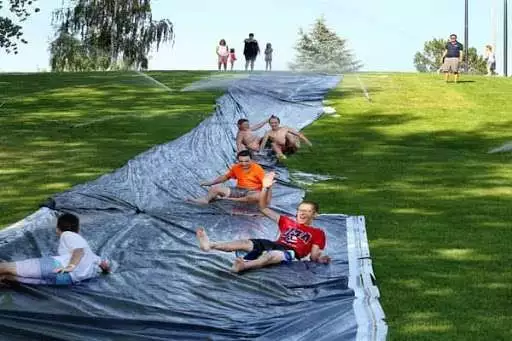
Get a thick, large roll of plastic sheeting to use as your DIY slide. We recommend using a 100-foot piece of tarp for a longer glide, but this depends on the size of your yard. You can also use something smaller when working in a more confined space.
Head out into the backyard and figure out where you want to set things up. You’ll want to position the top of the slide at the beginning of a hill or slight slope. Make sure there’s enough space behind the slide so that the kids can get a running start.
Leave enough slack at the end so that the sliders have a chance to slow down once they reach a flatter surface. Otherwise, the kids will come to an abrupt and potentially painful stop somewhere on the grass.
You’ll also need to ensure the slide is somewhere close enough to access the garden hose. Clear the area of all rocks and debris so that no one gets hurt during their turn.
Step 2: Create Some Bumpers
Use pool noodles to create a soft barrier so that the kids don’t tumble off the track. The number of noodles you use depends on the size of your slide. Remember, a pool noodle typically measures 5 feet in length.
Wrap the edges of the plastic around the noodles. Secure it in place using a 2-inch piece of velcro. Do this at both ends and in the middle of each noodle.
Step 3: Secure Your Slide
Next, you’ll want to secure your slide in place. Stretch the material taut and smooth out all the wrinkles. This will make it even easier to glide down.
If you have enough slack, create a few folds in the tarp towards the top of the slide to help reinforce it against tears during use.
Secure all four sides using garden staples or tent stakes. Cover each post with some duct tape to prevent them from being stepped on. You can use a bright color for the tape to make these points even harder to miss.
Step 4: Bring Out the Hose
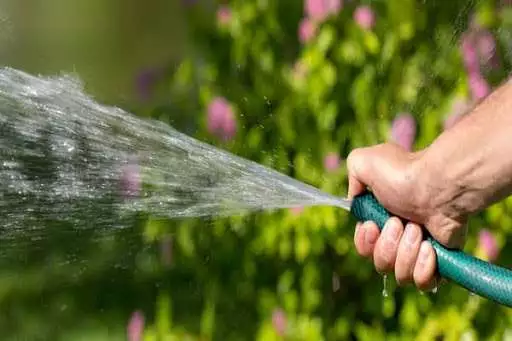
Time to bring in the water! Set up your garden hose at the top of the slide and let the water run down. You can also position some sprinklers along the sides of the slip n’ slide to help spread the water around.
Step 5: Get it Your Slip and Slide Good and Slippery
Slipperiness is one of the most important aspects of a homemade slip n’ slide. Apply baby soap or tear-free shampoo to the surface of the slide about every 30 minutes. Then, start sending your sliders down one by one.
Step 6: Post Photos of the Fun to Social Media
Don’t forget to take some pictures! Take shots of each other running and jumping down your newly constructed slide.
Step 7: Clean-Up Time
Be sure to clean up once you’re done. While you don’t have to disassemble your slide immediately after use, you’ll probably want to take it down after a few days to protect the grass underneath. Keeping the plastic over the plant can cause it to brown, and repeated use can rip it from the earth.
This process can also protect the slide itself. Remember, the plastic can get dirty, ripped, and might even melt if left out in the heat and exposed to the elements for too long.
Benefits of DIY Activities for Kids
While it’s fun to give the kids something new from the store, there is also tremendous value in helping them create their own entertainment. These kinds of activities can help boost moods and increase happiness among children. It’s also a great way to get them to focus on something specific.
DIY projects can provide some physical perks for kids as well. Each assignment can boost brain function and improve hand-eye coordination. Experts also believe that a hands-on DIY approach can help with dexterity.
Emotional benefits revolve around the promotion of creativity and critical thinking. The more license the kids are given to come up with activities on their own, the more confident and experimental they’ll likely become.
More DIY Water Activities from Great Wolf Lodge
Thanks for following along! Be sure to check out our blog for more fun projects you can do at home this summer. We have lots of things to do for all ages, from cooking, crafts, outdoor adventures, and more!
You can also visit us at the lodge. Each stay includes water park passes, lodge entertainment, and at-home comfort. Our indoor water park resorts offer family-friendly fun all across the country. From splashing to relaxing, there are slides and rides for every age and ability.


